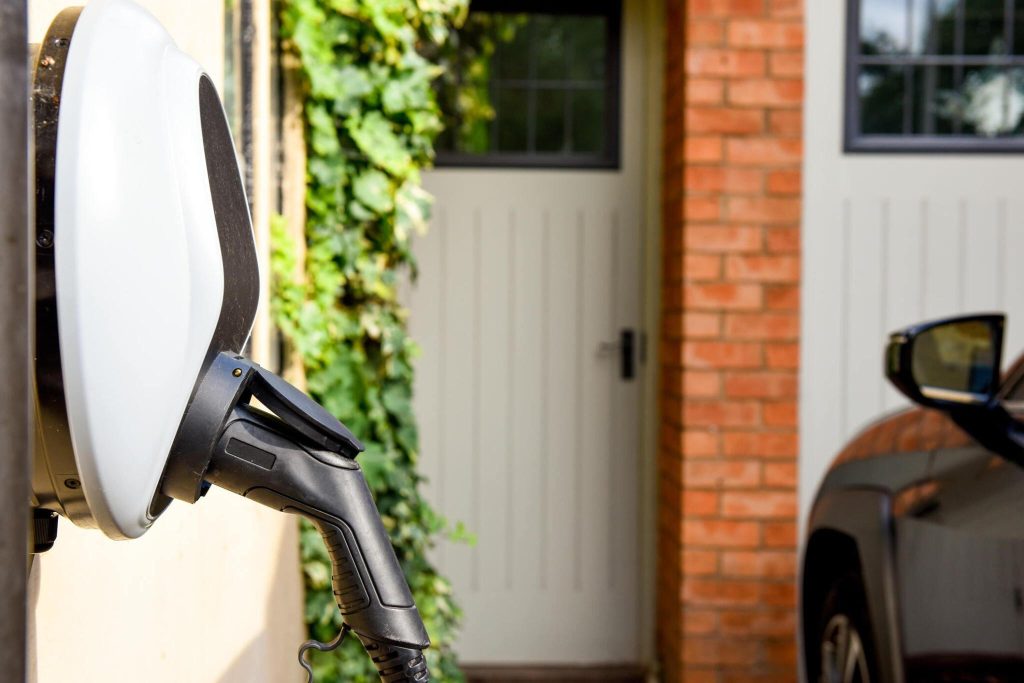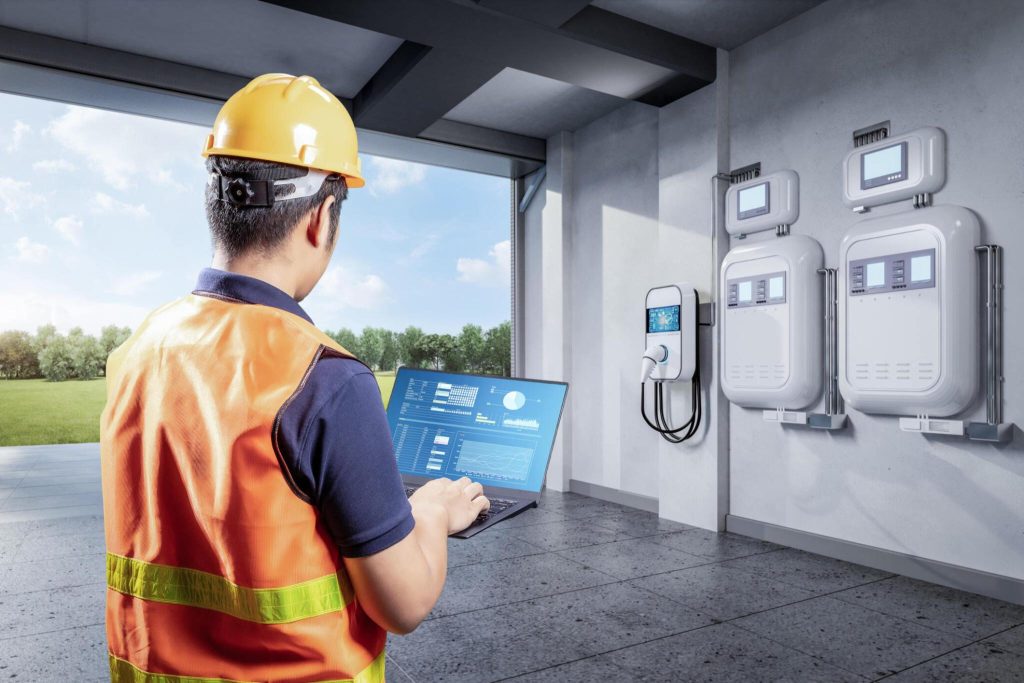
The transition to electric vehicles (EVs) is a significant step toward a greener future. With this shift, the demand for home electric car charger installation has surged. Installing an electric car charger at home not only offers convenience but also enhances the overall EV experience. In this comprehensive guide, we’ll walk you through the steps of electric car charger installation, ensuring you can confidently embrace the future of transportation.
Understanding Your EV Charging Needs
Before diving into the installation process, it’s crucial to understand your charging needs. Different EVs have varying charging capacities, and the right charger will depend on your vehicle’s specifications and your driving habits. Researching the types of chargers available is the first step in your EV charger home installation journey.
Choosing the Right Charger
Selecting the appropriate charger for your electric vehicle is a critical decision that influences your overall EV experience. As mentioned, there are mainly two types of EV chargers – Level 1 and Level 2. Let’s delve deeper into these options to help you make an informed choice.
- Level 1 Chargers: These chargers are the most basic type, plugging directly into a standard household 120V outlet. They are typically included with the purchase of an EV and don’t require special installation. The main advantage of Level 1 chargers is their convenience and universal compatibility. However, they offer a relatively slow charging speed, usually adding about 2 to 5 miles of range per hour of charging. This makes them suitable for overnight charging or for EV owners who have a short daily commute.
- Level 2 Chargers: These are a significant step up from Level 1 chargers, requiring a 240V outlet, similar to what large appliances like dryers use. Level 2 chargers are much faster, typically providing about 12 to 80 miles of range per hour of charging, depending on the charger and the vehicle. This makes them ideal for EV owners who use their vehicles more frequently or for longer distances. Although they require a more complex installation process, the convenience of a significantly faster charge time makes it a worthwhile investment for many.
Planning the Installation
Once you’ve selected the charger, the next step is to plan the installation. Consider the location where the EV charger will be installed. It should be easily accessible and preferably close to where your EV is parked. For an outdoor installation, ensure the charger is weatherproof.
Hiring a Professional

When it comes to the actual installation of an electric vehicle charger, the importance of hiring a professional cannot be overstated. Electric charger installation is not just a matter of convenience; it is a matter of safety and compliance. This task involves intricate electrical work that necessitates a high level of expertise and precision.
A certified electrician is equipped to handle all aspects of the installation process. This includes obtaining the necessary permits, ensuring the installation is compliant with local and national electrical codes and regulations, and safely integrating the charger with your home’s electrical system.
Moreover, a professional installer can provide valuable advice on the optimal placement of the charger and the best type of charger for your specific needs and vehicle.
For those seeking a trusted and experienced provider for this service, Elite Vehicle Chargers stands out as a premier choice. Elite Vehicle Chargers specializes in EV charger installations, offering a comprehensive service that includes a thorough assessment of your home’s electrical infrastructure, expert advice on charger selection, and a seamless installation process.
Their team of certified electricians ensures that every installation is carried out with the utmost precision and adherence to safety standards.
Understanding Costs and Incentives
The cost of EV charging home installation is a crucial aspect for homeowners to consider. This expense is influenced by various factors, including the type of charger (Level 1 or Level 2), the complexity of the installation, the need for any electrical upgrades, and the rates of the professional installer.
A Level 2 charger, which is the most common choice for its faster charging capability, typically incurs a higher cost due to the need for a 240V outlet and potentially more complex installation requirements.
Additionally, homeowners should consider the long-term savings that come with an EV charger. While the upfront cost might seem significant, having a home charger can lead to substantial savings on public charging costs over time. Moreover, charging at home is often more convenient and efficient, adding to the overall value of the investment.
Importantly, there are often incentives and rebates available that can significantly reduce installation costs. Many governments and local authorities offer incentives to encourage the adoption of electric vehicles and sustainable practices. These incentives can come in the form of tax credits, rebates, or grants.
For instance, some regions offer a rebate on the purchase of a new EV charger or provide a tax credit for a portion of the installation cost.
Maintenance and Upkeep

Maintaining your electric car charger post-installation is crucial for ensuring its longevity and optimal performance. This goes beyond basic checks; it involves a comprehensive approach to upkeep.
- Regular Inspections for Physical Damage: Periodically inspect your charger for any signs of wear and tear. Look for frayed wires, cracks in the unit, or loose connections. Such damage can not only affect the performance but also pose safety hazards.
- Software Updates: Just like your EV, your charger’s software needs to be up-to-date. Manufacturers often release updates to improve functionality and add new features. Regularly check for software updates or set your system to update automatically if possible.
- Cleaning the Charging Port and Cable: Dust, debris, and other particles can accumulate in the charging port and on the cable, which can hinder the connection and charging efficiency. Use a soft, dry cloth to gently clean these components. Avoid using water or harsh chemicals.
- Monitoring Charging Efficiency: Keep an eye on your charging times and efficiency. A significant change in how long it takes to charge your vehicle can be a sign of an issue with the charger.
- Checking for Overheating: After use, check the charger for any signs of overheating. If the charger or cable feels excessively hot, discontinue use and consult a professional.
- Professional Servicing: In addition to your maintenance efforts, schedule regular professional check-ups. A qualified technician can conduct a thorough inspection and address any issues that may not be immediately apparent.
Enjoy the Convenience
Once your EV charger installation is complete, you can enjoy the convenience and benefits of charging your electric vehicle at home. You’ll save time, reduce your carbon footprint, and possibly even increase your property value.
Conclusion
Installing electric car chargers at home is a forward-thinking decision that aligns with the global shift towards sustainable transportation. By following this step-by-step guide, you can ensure that your car charger home installation process is smooth, efficient, and tailored to your specific needs. Embrace the future and install an electric car charger today to enjoy the full benefits of your electric vehicle.
